Wednesday, 11 August 2010

my first exploding box

Create and Craft TV has a lot to answer for...! I was just about to make a 60th birthday card to send to a colleague and was planning to do a variation on the handbag  card.  But before I could put knife to paper I spotted an exploding box as one of the demo samples on Create and Craft and thought 'I can do that!'

So, the result of my first exploding box...I'm very proud of it!


The letters and numbers were cut on the trusty Craft Robo Lite, but believe it or not I added all the polka dots by hand! Glitter peel-offs from Papermania and flowers are leftovers from the Forever Friends wall decor sets.

Tuesday, 10 August 2010

upcycling

I spent a happy day last weekend cutting up the lovely birthday cards I'd received and 'remodelling' or 'upcycling' them.  Will post more pictures soon but this is one of my favourites...

I forgot to take a pic of my cards before I got at them with scissors and guillotine but here's a pic of what this one looked like, its the one at the top...


with the addition of some black and ivory cardstock I came up with this


and then realised I didn't want to part with it just yet! So what's a girl to do but get out the craft box and recreate the topper.  The shoe is cut from vinyl using the Craft Robo Lite and the box from some cardstock that I got in a bargain pack last year and have never been able to find a use for until now!

Monday, 9 August 2010

Silver Wedding Card

another commission, usual 8 inch square format (to think I used to make mainly 4 inch square cards!). This one includes a shaker box cut from mirror card with nestabilities and filled with silver punched hearts and gems. The personalised text and sentiment are done with Meltdust from My Craft Studio  and the bow is gathered together with a 'make your own' brad from Papermania. Numbers were cut on the Craft Robo Lite from self-adhesive glitter vinyl


I went to town a bit on the insert of this one with a bit of 'bling'

Sunday, 8 August 2010

Teapot Mark II

It seems it's not just me who loves the Union flag teapot design... My favourite customer brought more work my way, this time a commission from her daughter for a 21st birthday card for someone who loves drinking tea...

she wanted one of my 8 inch square cards with matching box, and I have to say I love this box as much as the card - may just have to reproduce as a smaller scale card...


what do you think of the little handmade paper teabag peeking out of the cup...?


Papers are a mix of Pink Petticoat and My Minds Eye, cut on Craft Robo Lite. Self-adhesive paper lace made by Creatability, and rub-ons made myself with special rub-on transfer paper from Grafix (bought at Hobbycraft, about £10 for 4 A4 sheets so will be using it sparingly!)

Saturday, 24 July 2010

As British as....

this is my take on a card featured in a magazine this month. I made it for my best friend's birthday.


Papers are a combination of Pink Petticoat 'Daisy Bouquet' and a My Minds Eye magazine freebie (I loved the papers so much I bought 2 copies of the mag!)

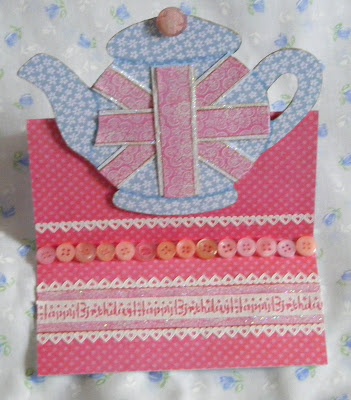
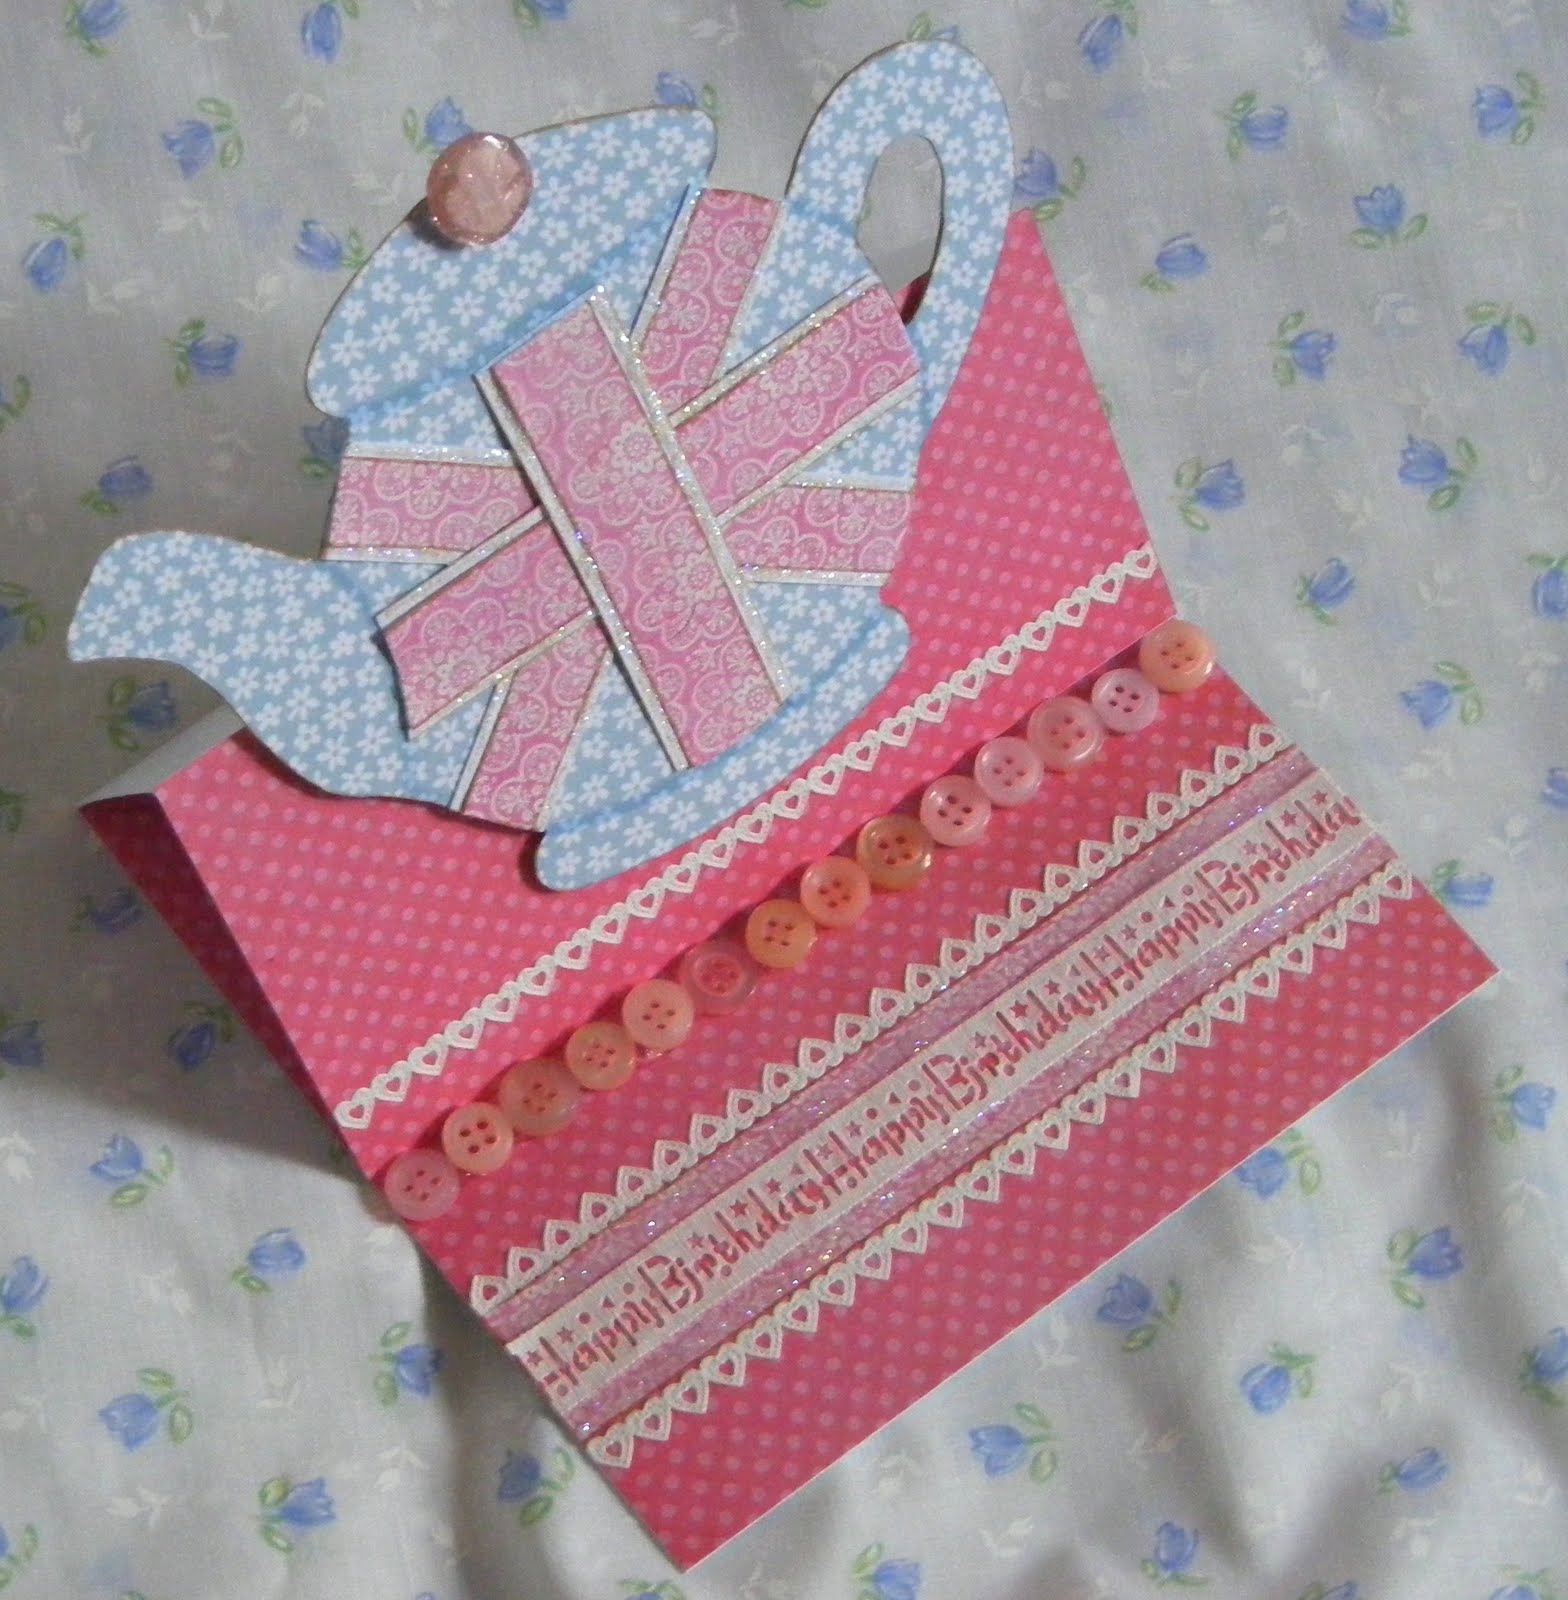
This photo is a better one to show its an easel card


as you can see I've glued on a row of buttons to act as the stopper for the easel part. Not much else on the card apart from some self-adhesive paper lace and a bit of stickles...

And a quick peek at the inside too...


I've a feeling I'll be using a similar design more than once (but if I do another easel card I'll cover the back part of the easel too)!

Sunday, 4 July 2010

Graduation card number 2

for Heather's boyfriend, so it was a case of 'his and hers'...

Made in much the same was as yesterday's card, the backing paper was a free download from www.scrapbookscrapbook.com I found when looking for something with blue stars.  It wasn't wonderful quality but worked well enough for this card.

You can't really see the tassel in this picture, but its a much plainer one than yesterday.  The wording was cut from vinyl with the craft robo.

Saturday, 3 July 2010

Graduation card number 1

...made for the same person as yesterday's 21st birthday card.  Again the brief was 'girly'.


I used a scalloped edge 8" base card and the backing paper is cut from a 12" DCWV sheet. I ran it through the printer to add the sentiment then went over the lettering with Diamond Stickles to bling it up a bit...


The mortar board was cut using the craft robo (have had a lot of use out of it lately, lol!) and layered with 3d foam pads.  Don't you just love the tassel (which cost more than the rest of the card put together!)


And yes you've guessed it, there's a box too, although this 1 is a bit plainer than usual.  The tag was designed in Word after I'd used Photoshop Elements to recolour the ribbon on the clipart scroll.


Check back tomorrow for another graduation card...

Friday, 2 July 2010

21st birthday card

My first stepper card - a commission for a 21st birthday card for a 'girly girl'.  This was for the daughter of the recipient of the 50th birthday card I made a few weeks ago so I couldn't use the handbag this time!


I cut the card base with the craft robo, after running it through the printer to add polka dots to both sides (as the 'wrong' side is visible from the front of the card).  I can't remember where the shoe image came from but I digitally paper-pieced it to coordinate with the rest of the card.  The paper designs are all from Pink Petticoat, although I had to use a bit of jiggery-pokery to change the colourway to suit.


As ever I had to make a matching box as the card was way too deep for an envelope, so designed a basic template for the craft robo and cut it from printed card.  The words 'twenty one' and 'Heather' were also cut with the robo, as were the large flowers.  The trim on the box is of course made with a Martha Stewart punch.


I'm pleased to report that my customer loved the finished card - I must learn not to worry so much, lol!

Thursday, 1 July 2010

Thinking out of the box...

This is a little gift I made for a colleague's birthday instead of a card. He's always scrounging coffee supplies from other people so this was just a tongue-in-cheek gift...


I cut the box with my craft robo, from a free template by sparkeyb on the UK Scrappers craft robo forum. The cardstock is an unwanted file divider - think I have some in cerise too - and it cut perfectly.  Loved the interlocking bottom on the template too, easier than sticking but very sturdy. The sides are decorated very simply with panels created in Word.

I filled the box with individual sachets of coffee, sugar etc, with a couple of teabags and tubs of UHT milk. For some reason he drinks his tea with honey so I bought a mini jar to go in the box too, its surprising just how much you can get in a box that's less than 7cm cubed!


Friday, 25 June 2010

Pure Innocence...


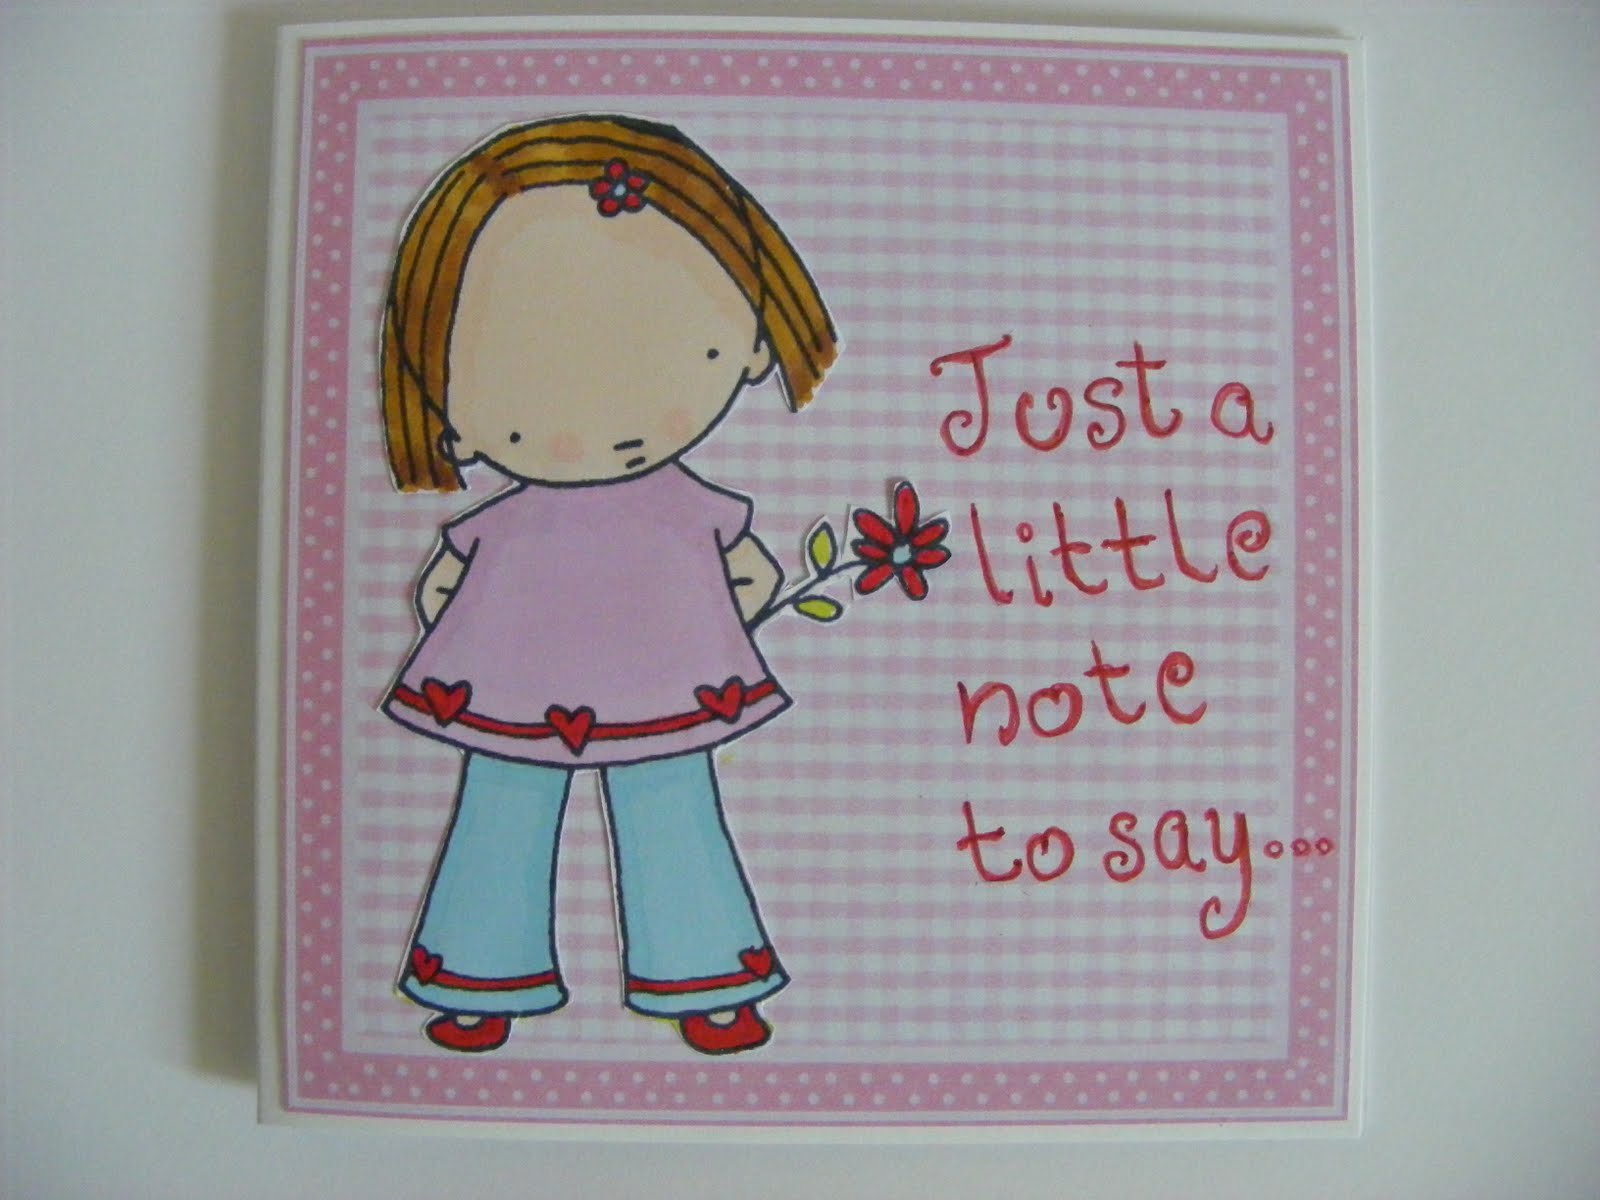
Isn't she cute? I'm loving these digi-stamp images from Heather Ellis, who can also be found on Etsy.  At first I was using these the 'old-fashioned' way - printing off the black and white outlines then colouring with Promarkers then cutting out and sticking to my background layer, and hand-writing sentiments as in this card....


Then I decided to have a bit of a play around with them in Paint.NET, making the background transparent and converting to png files so I could layer up onto the digital backing paper before printing.  I've added the sentiment at this stage too.  


Don't worry though, the Promarkers aren't redundant - I've still hand-coloured the images, and I've gone over the red sentiment and other red areas of the design with a red Spica pen just for a subtle hint of glitter.


I think I feel a notelet set coming along....

Thursday, 24 June 2010

my kind of recycling

A card I made for a colleague & her husband, on behalf of all of the staff at the library a few weeks ago.  I didn't blog it at the time as I'd saved it directly to the internal memory of my camera then couldn't find the lead to download to my PC!


I still can't decide if I'm happy with it or not, although everyone else loved it.  The stitching is a design from Stitching Cards, modified to fit a square format, with some stick-on gems added for a bit more 'fizz'.


As usual for my 'special' cards I made a matching box too...


with a close-up of the tag to show the detail


And the recycling bit?  The ribbon on the card and box was taken from a friend's bridal bouquet, and the flowers and leaf 'tag' were from the flowers decorating another pal's wedding cake.

Wednesday, 23 June 2010

Not a card today...

...but a patriotic necklace!


Very simple construction, flags printed off and laminated then cut out and sandwiched in pairs with a ribbon loop and threaded onto  cord that I've tied in a bow at the back of my neck.  Lots of compliments, and no-one else has one!


Also made some mini-bunting to decorate my desk at work (but forgot to take a pic!)  - made some spares for my workmates too!


Lesley x

Tuesday, 22 June 2010

Gorgeous and girly...

Just a quickie this time to show off  this 'little cutey' Forever Friends card, which is actually 8" square! 


The image is a wall decor sticker from the Forever Friends Pink Parfait range.  These come in a pack of 3 large images, with lots of smaller elements too.  They were originally sold at £3.99 per pack, then Hobbycraft had them for £2.99 and I was tempted...but so glad I waited as they went down to £1.99 per pack!


The backing paper and sentiment sticker are from cheapy scrapbook kits from The Range that cost 99p (bargain!) and I've added some gems and glitter glue to bling things up a bit...


That's it for now, I'm off to finish the 2nd one...

Monday, 21 June 2010

Handbag Mark II...

Well, version 1 went down so well I thought I'd have another go


very similar to the first but I used a linen effect paper (not sure if that was wise, it didn't cut cleanly with the robo) and added a bit of bling. I designed the key myself on the robo  (I know some people still like keys on 18th/21st birthday cards so thought this was a very discreet way to use it!)